
Recently, the public preview of Object Level Security in Power BI was announced — you can check the announcement details here. OLS enhances enterprise-grade security in reports and datasets by allowing only those users with the required permissions to view and interact with sensitive data.
What is Object Level Security (OLS)?
I won’t go into a ton of detail about what OLS actually is as you can read all about it in the official announcement. In a nutshell, Object Level Security (OLS) enables the data modeller to secure certain columns/tables from the report viewers. You can restrict access to sensitive data such as employee salary, commission, date of birth, etc.
How do you configure OLS in Power BI?
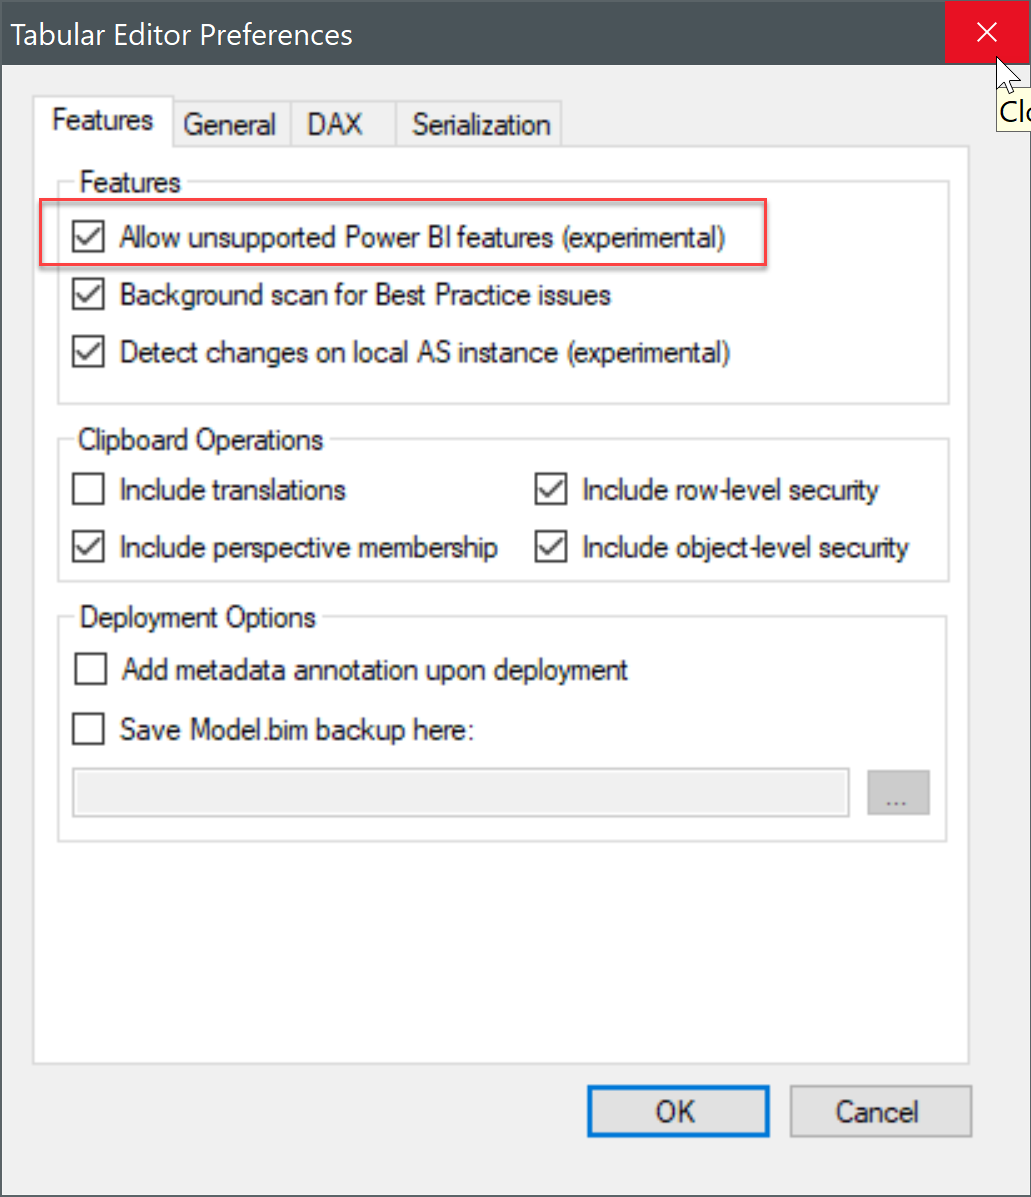
You can create Object Level Security through the XMLA endpoint or by using Tabular Editor (download here). In this post, I am going to use Tabular Editor to create OLS. Also, make sure you check Allow unsupported Power BI features in the Tabular Editor by going to File -> Preferences.
Keep in mind, you cannot create OLS roles natively in the Power BI Desktop at this point.
What are the 3 steps to implement Object Level Security?
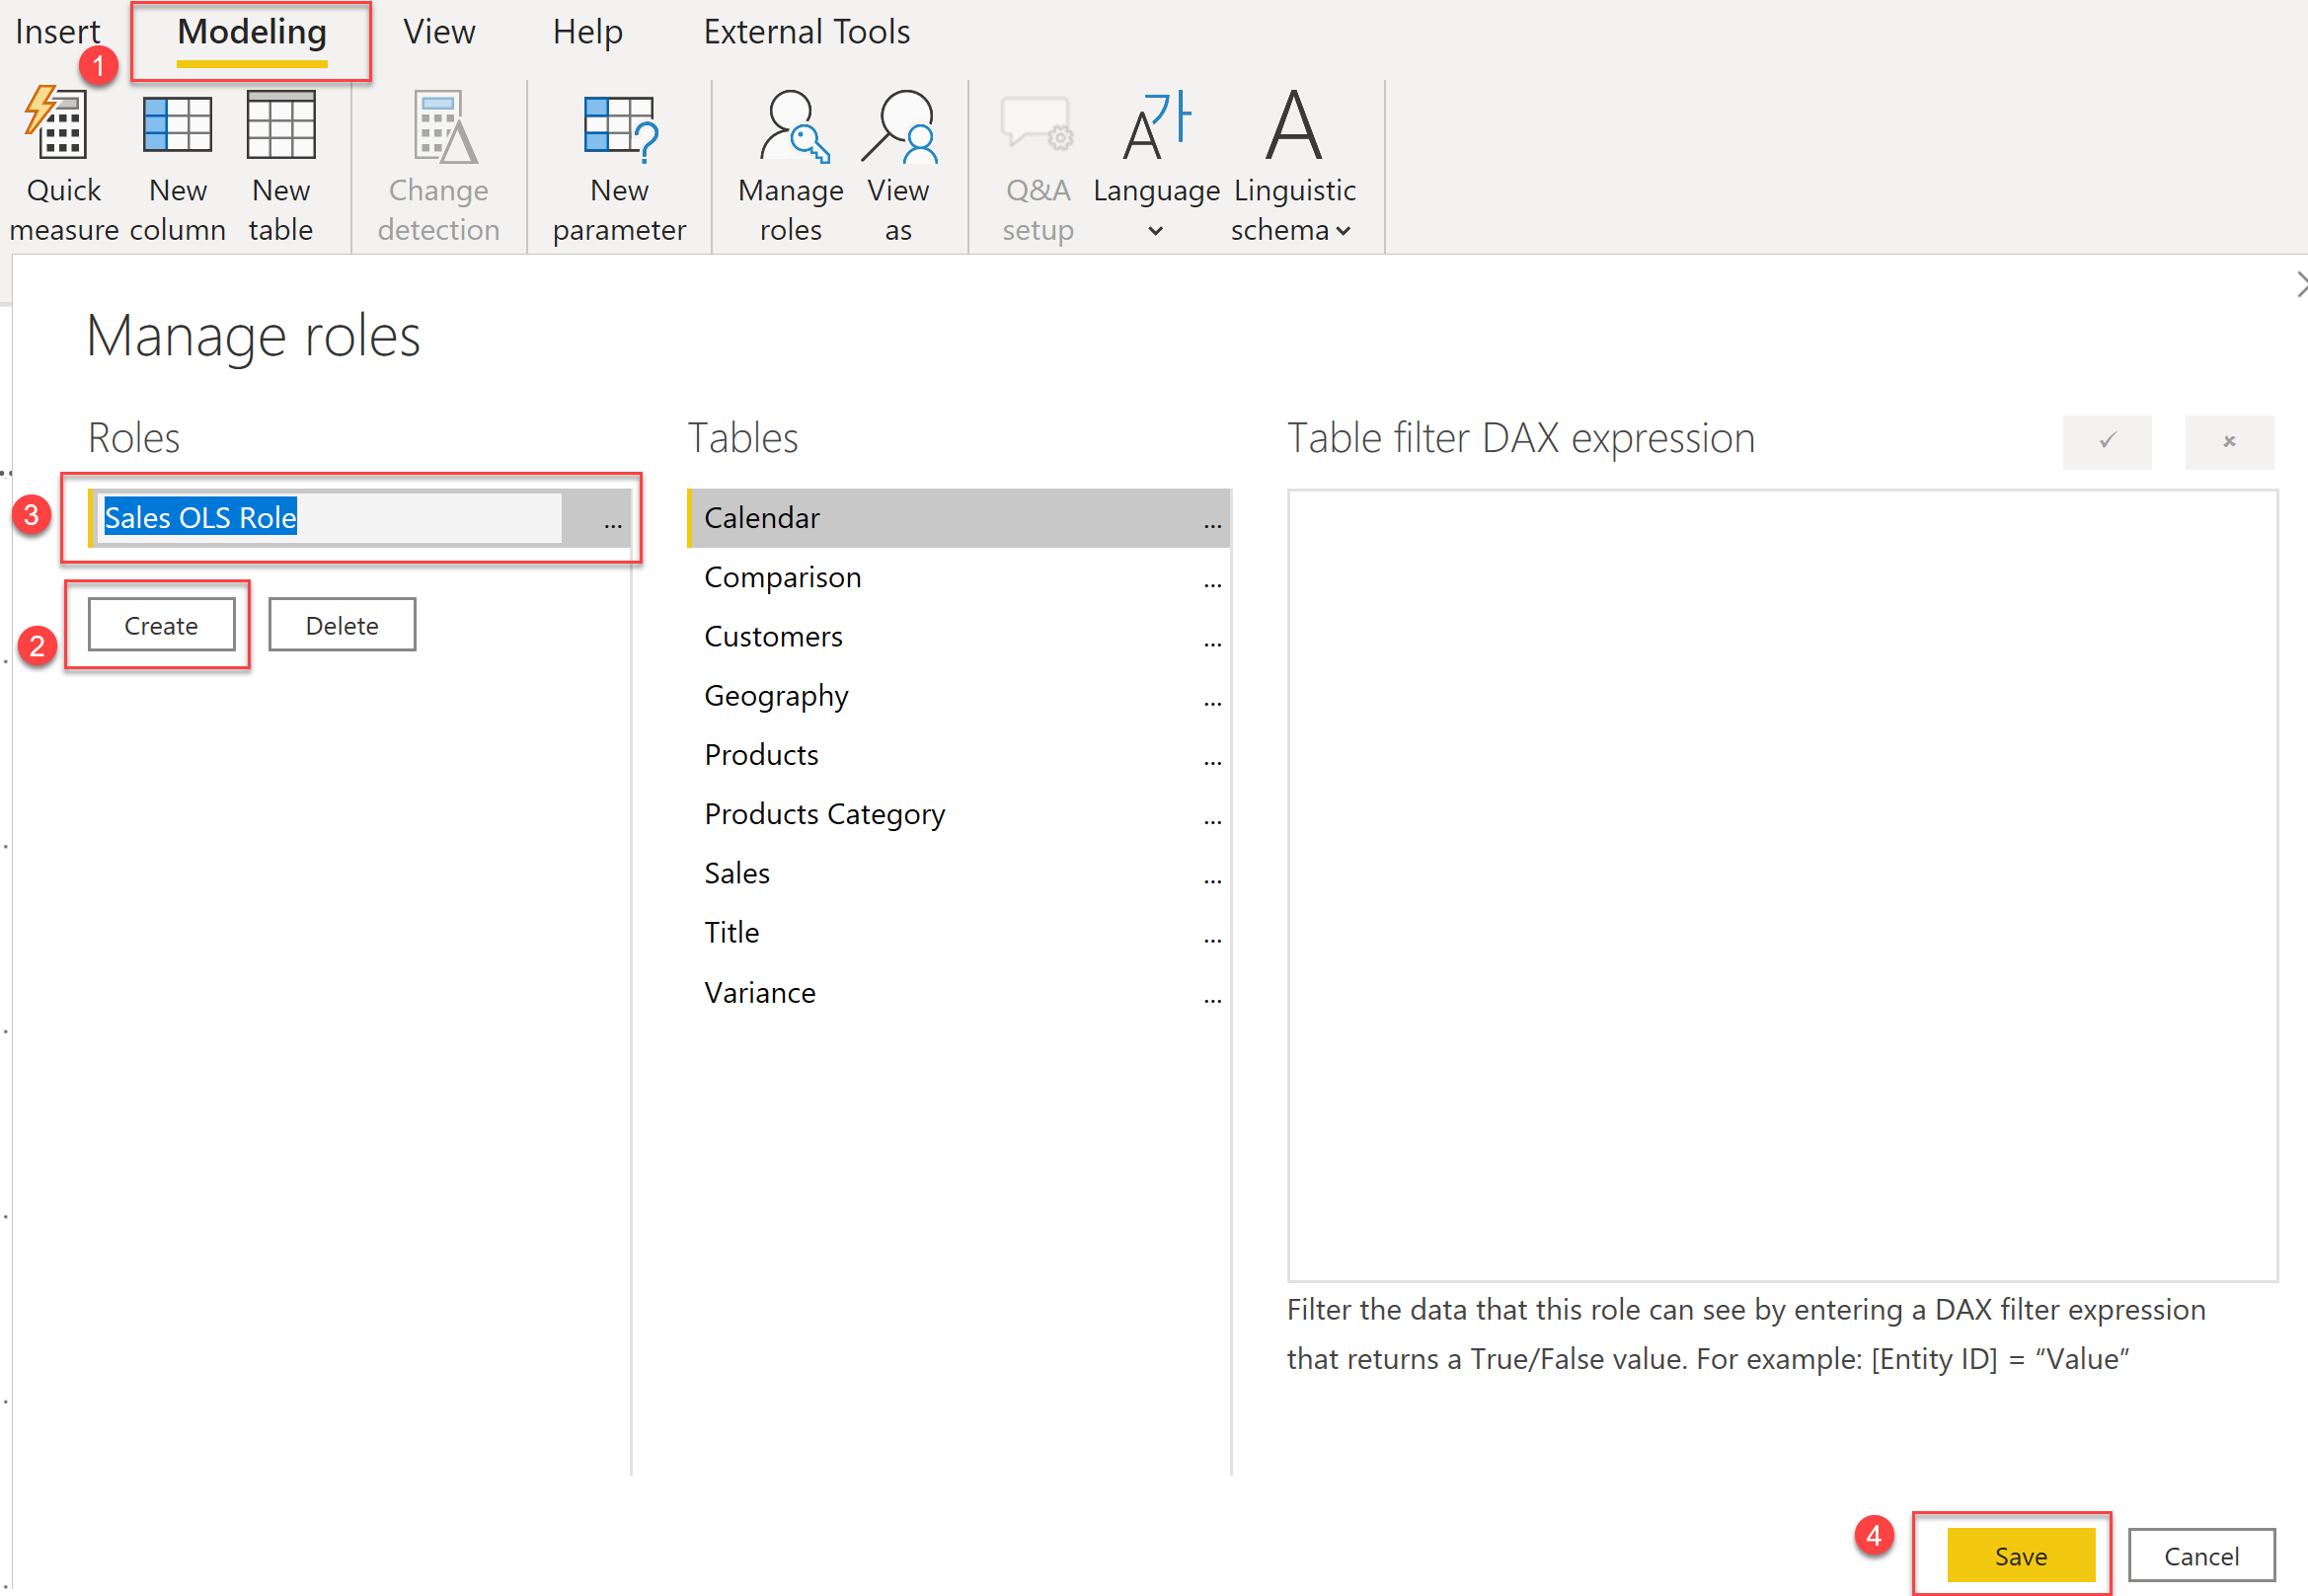
Step 1: Create a role in the Power BI Desktop.
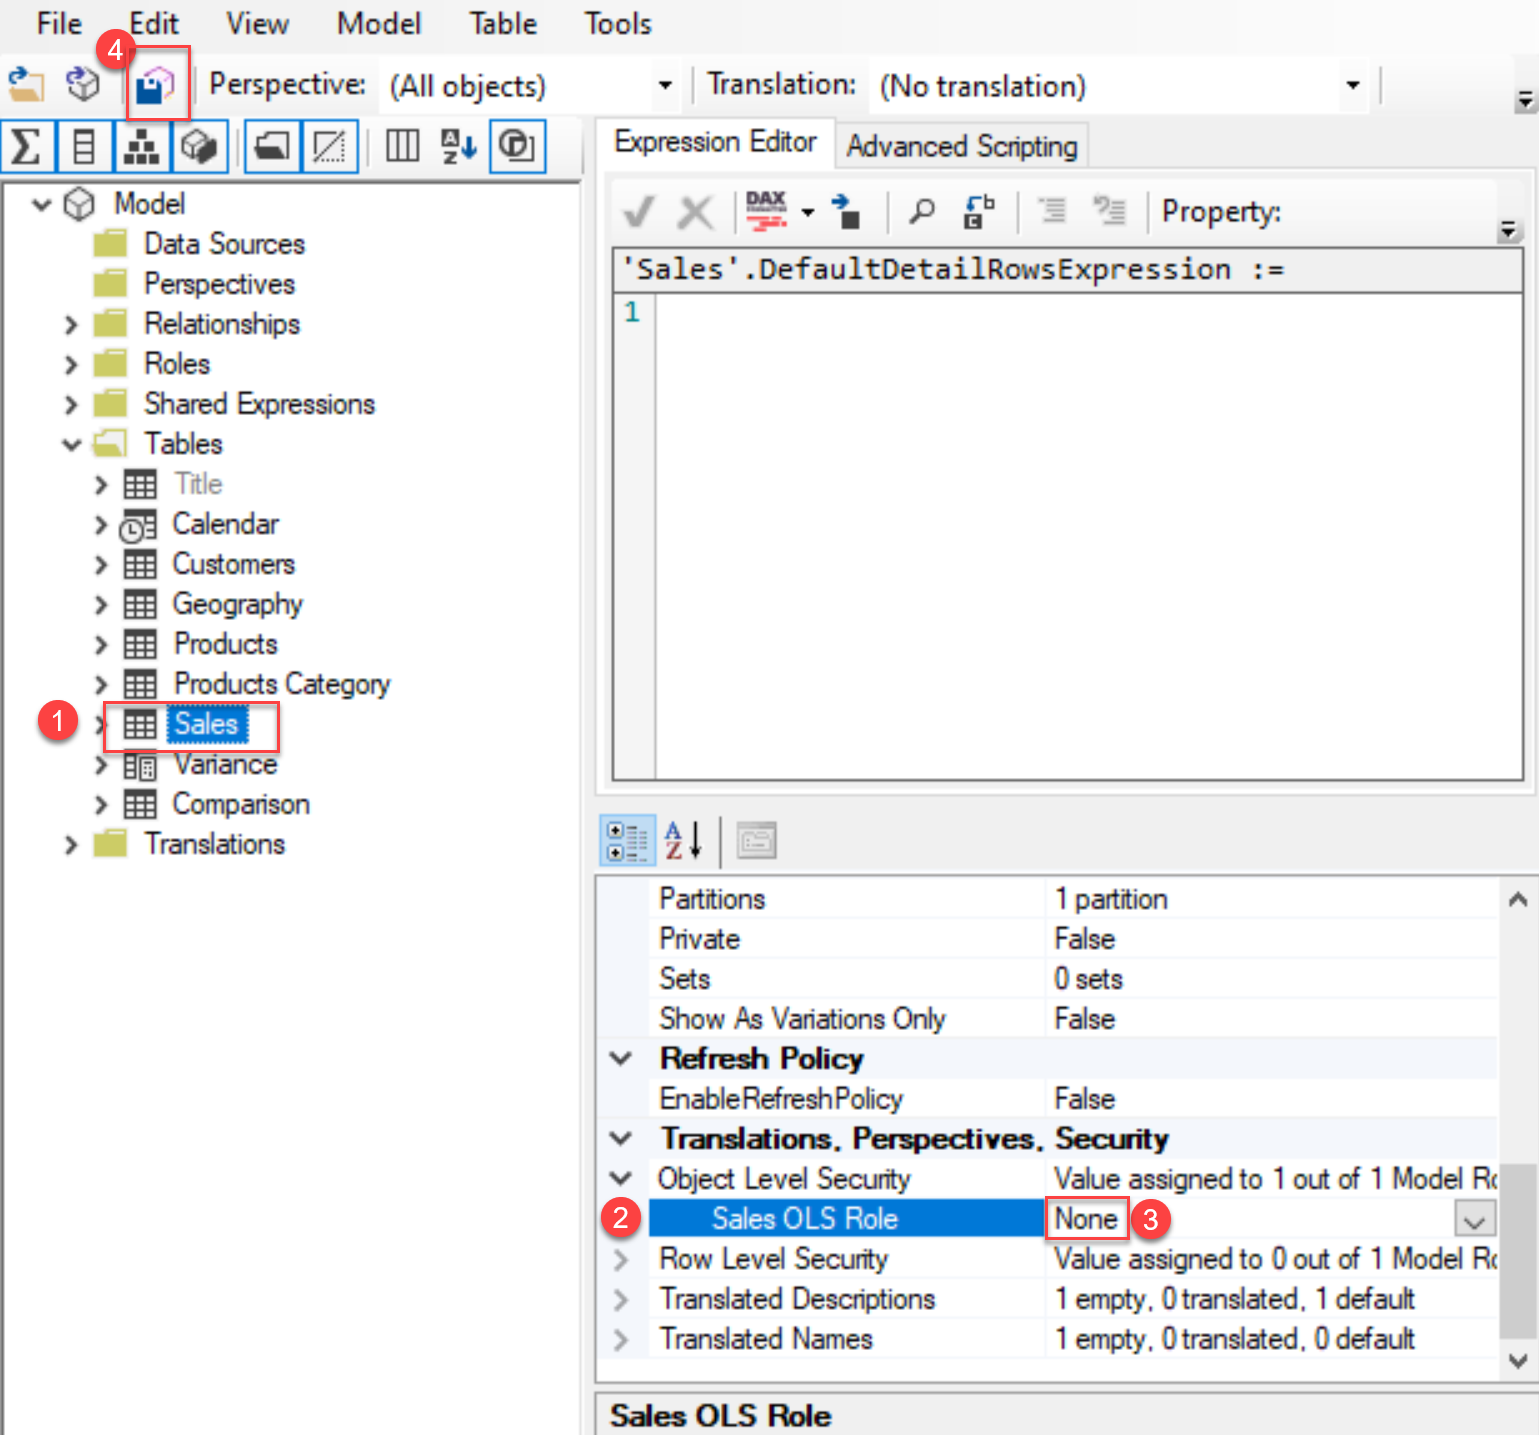
Step 2: Open Tabular Editor.

Step 3: Add tables to the role (created in Step 1).
And there you go — that’s it! You can add multiple tables to a role, or you can have multiple roles as per your business’ data security needs and then add users to the respective role based on their permission level. Hope you found this quick tutorial helpful!


No comment yet, add your voice below!